BulletProof React Project
- Description
- Curriculum
- FAQ
- Notice
- Reviews

Learn React by Building a Real-World Application!
This course uses an established Bulletproof React code base as the foundation for lessons to provide students with a hands-on, real-world learning experience.
Real-life software projects rarely start from scratch. Developers typically join existing projects, understand their structure and requirements, and contribute meaningfully. Therefore, this course focuses on learning the React ecosystem through an open-source codebase.
What You’ll Learn
- Building scalable and maintainable React applications
- Working with large codebases and adding new features to an existing project
Who Is This Course For?
- Beginner and intermediate React developers who want to deepen their understanding of React and its ecosystem.
- Developers who are comfortable with React JS basics and want to learn how to work with existing projects and large codebases.
Explore React’s ecosystem following popular practices for project structure, API integration, and state management. Follow the course lessons, complete quizzes, submit homework tasks, get your homework tasks checked, and keep going.
-
1Intro
This is an introduction to a course based on the existing React project, which aims to provide a clear architecture for building production-ready React applications.
This lesson introduces the technology stack, key design patterns, and tools used throughout the course, setting the stage for a deep dive into modern web development practices.
-
2Documentations
This lesson provides an overview of the project documentation for . You'll explore the project documentation and make a list of project's technologies that you are familiar with and those that are new to you.
-
3Documentations Quiz
-
4List of Familiar and Unfamiliar technologies
-
5DependenciesThis lesson guides you through setting up your development environment for a React application by installing Homebrew, Visual Studio Code, Node.js, and NVM. It explains the role of each tool and provides basic instructions for installation.
-
6Dependencies Quiz
-
7Cloning Repo
This lesson guides you through setting up a new GitHub repository for your project and configuring it to work with the project. You will learn how to create a repository, clone an existing project, rename remote repositories, and push your code to GitHub.
-
8Cloning Repo Quiz
-
9Cloning Repo Assignment
-
10Run Locally And Test
You'll learn how to run this application. We'll set environmental variables, install dependencies, and start the application.
Additionally, we'll perform some smoke tests for onboarding purposes. Smoke testing involves creating several users, adding comments and discussions.
Lastly, we'll explore how to observe data used in the application using the browser localStorage.
-
11Run Locally And Test Quiz
-
12UI Updates
In this lesson, you'll rebrand the project from Bulletproof React by updating the project's logo, favicon, and routing. You'll update the Landing page to be served on the "/landing" route and update the "Get Started" button to redirect to the correct route.
-
13UI Updates Quiz
-
14UI Updates Assignment
-
15Deployment
In this lesson, we'll cover deploying a React application to Netlify. Deployment is the final step in making the application available to users on the web. Netlify offers a straightforward deployment process, making it ideal for those new to deployment procedures. Let's get started with deploying your React app to Netlify!
-
16Deployment Quiz
-
17Deployment Assignment
-
18Intro And Type
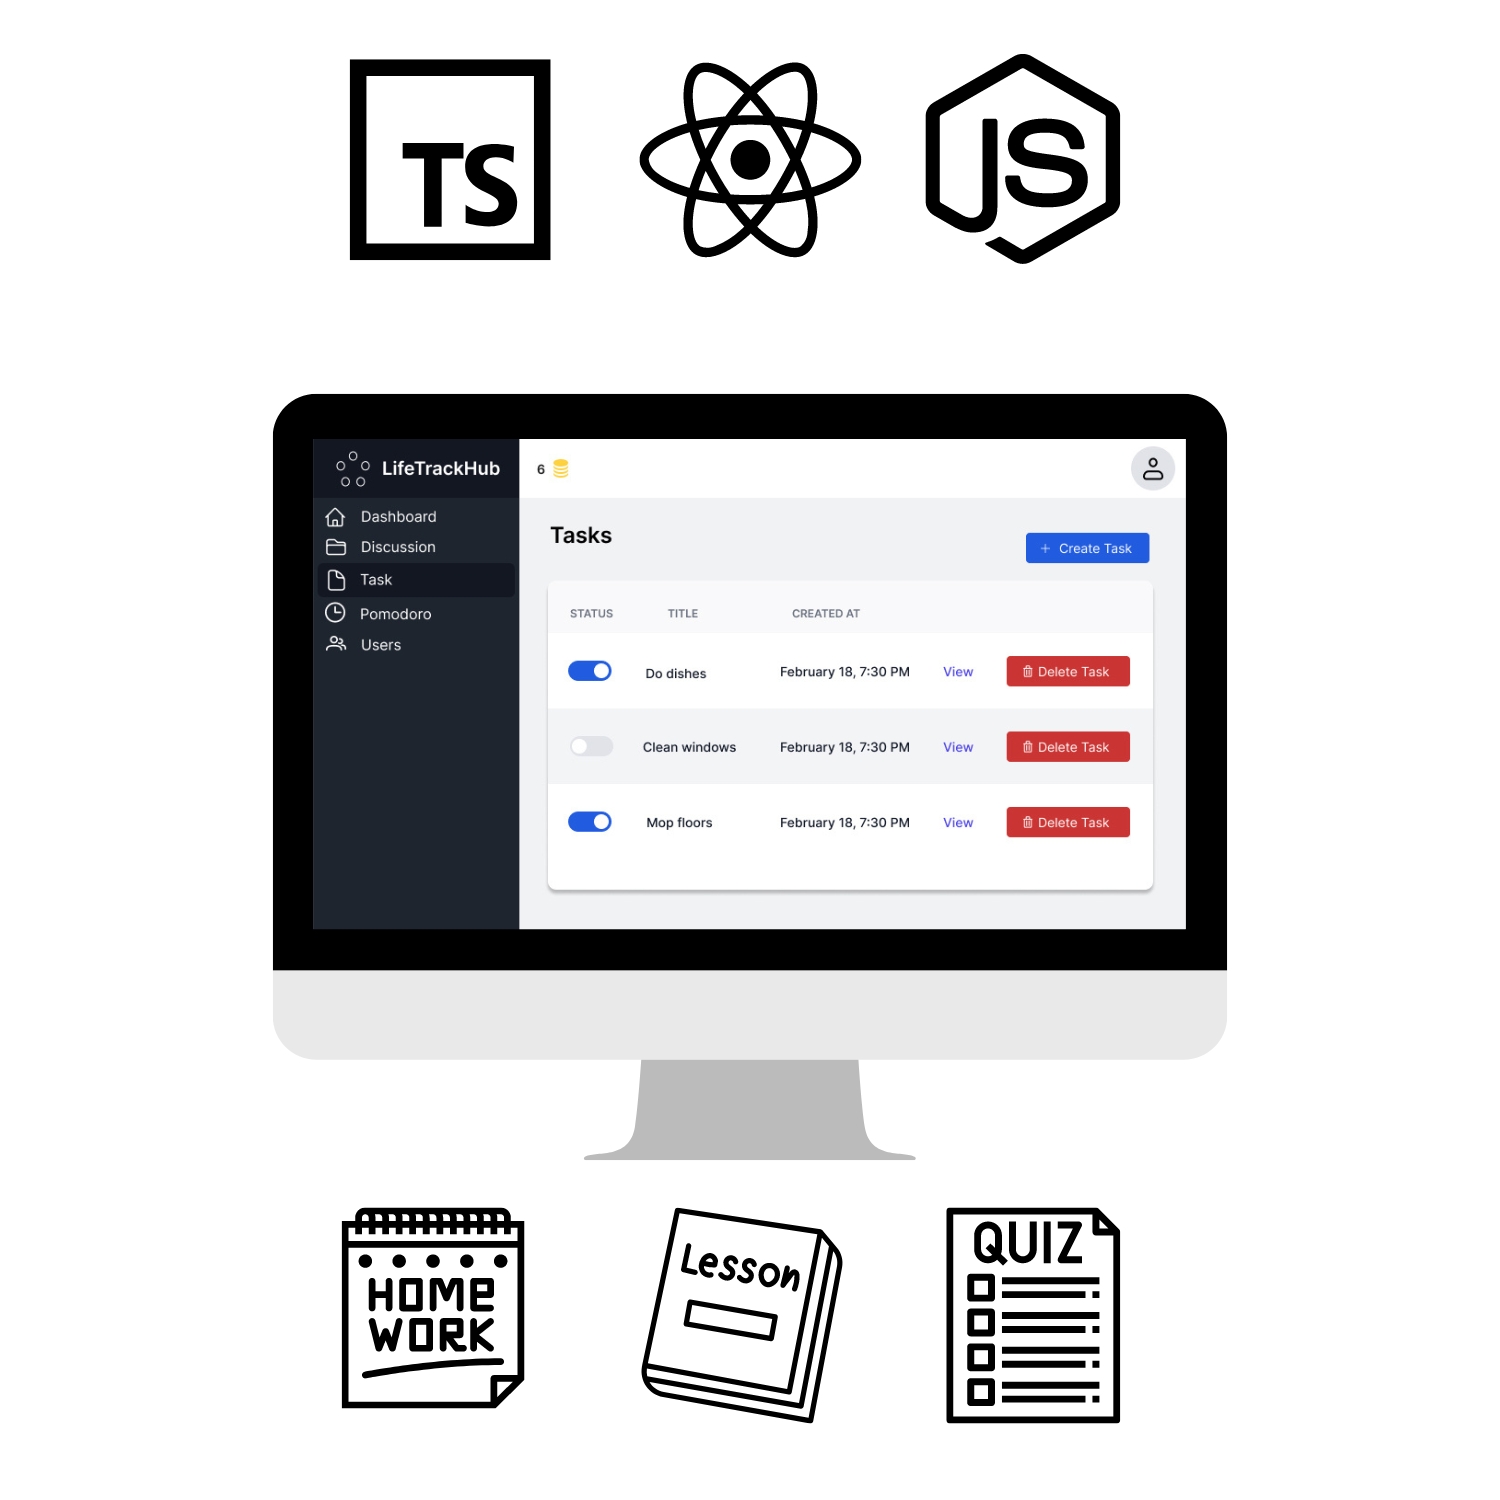
In this lesson, we start implementing a Tasks Management System.
This system will allow users to create new Tasks, view a list of their Tasks, and observe a single task on a separate page. A user can update any Task and change Task status on a list view.
-
19Type Quiz
-
20Type Assignment
-
21New "/tasks" Route And "Tasks" ComponentIn this lesson, we are focusing on adding a new Tasks page. We start by understanding the project's structure and how routes are managed for authenticated users.First, we create an index.tsx file in the src/features/tasks directory and a Tasks component in the src/features/tasks/routes directory.
Then, update the protectedRoutes array in src/routes/protected.ts to include the new route, ensuring that only authenticated users can access it.
This lesson demonstrates how to structure and add new routes to a React application. -
22"/tasks" Route Quize
-
23"/tasks" Route Assignment
-
24"TasksList" Component And "useTasks" Query
In this lesson, we will add the TasksList component to the Tasks page in our project. The TasksList component renders a table with the user's Tasks.
We implement the API logic using React Query to fetch user's tasks from the server.
On the backend, you'll add a new schema for Tasks in our mock database and implement the API endpoint to fetch Tasks for a specific user.
Finally, we update the
TasksListcomponent to display the list of tasks in a table format with columns for title and creation date. -
25"TasksList "Component Quiz
-
26"TasksList" Component Assignment
-
27'CreateTask' component and 'useCreateTask' mutationIn this lesson, you will implement the CreateTask module, which is responsible for rendering a form to add a new task.You'll set up the React-Query useCreateTask mutation to handle sending the HTTP request to create a new taskAdditionally, you'll update the mocked API handler to handle the POST request to create a new task.Finally, you'll create the UI for the Create Task form and ensure that the tasks list updates automatically when a new task is created.
-
28"CreateTask" Component Quiz
-
29"CreateTask" Component Assignment
-
30Optimistic Updates For 'useCreateTask' Mutation
In this lesson, we tackled the issue of a two-second delay between submitting a new Task in the New Task form and its appearance in the TasksList component. To address this, we implemented optimistic updates using React-Query's onMutate event.
-
31Optimistic Updates Quiz
-
32Optimistic Updates Assighment
-
33"useUpdateTask" Mutation And "Status" Toggle
In this lesson, we are adding a toggle to the task list table that allows users to switch task statuses between "Done" and "In progress."
This involves implementing the UI using the Switch component, creating a React-Query mutation for updating task statuses, adding a Mocked API handler, and using optimistic updates to improve the user experience.
-
34"useUpdateTask" Mutation Quiz
-
35"useUpdateTask" Mutation Assignment
-
36"DeleteTask" Component And "useDeleteTask" Mutation
In this lesson, you'll learn how to implement a Delete Task button with double confirmation in a React application. The button is present on each task row in a table and triggers a modal asking the user to confirm the deletion.
The lesson covers using React-Query for data management, implementing an optimistic update strategy for a smoother user experience, and handling HTTP requests to delete tasks.
-
37"DeleteTask" Component Quiz
-
38"DeleteTask" Component Assignment
-
39"Task" View Page Route, Component And "useTask" Query
In this lesson, we implement the Task page to view individual Tasks.
We add a new route for the Task page and a link in the TasksList component to navigate it.
The Task page displays the Task title, body preview with Markdown formatting, and the creation date.
We also create a custom useTask query and a mock API handler to fetch Task details using the Task ID.
Finally, we updated the Task page UI to include all the necessary elements and styles.
-
40"Task" View Page Quiz
-
41"Task" View Page Assignment
-
42"UpdateTask" Component
We create an Update Task component that displays a button. When clicked, it opens a drawer containing an Update Task form to update the Task's title, body, and status.
To handle the controlled Switch component from the headlessui/react library, we used the Controller component provided by react-hook-form library.
Finally, we implement optimistic updates for the task's status, ensuring that the UI updates immediately and reverts changes if an error occurs during the update process.
-
43"UpdateTask" Component Quiz
-
44"UpdateTask" Component Assignment
-
45Achievement Into - Type, RULES and Achievement Processing LogicIn this Part, we're adding Achievements to our application. Achievements are virtual rewards that users earn by completing specific tasks or reaching milestones. Initially, users earn one score point for each Task created.
The Achievement data model manages and tracks Achievements with fields like name, description, reward, status, and progress.
The RULES object defines how users can earn achievements and the associated rewards. -
46Achievement Into Quiz
-
47Achievement Into Assignment
-
48Rewards MenuIn this lesson, we display the User's achievement score in the app's header. Clicking it opens a nav menu for quick access to the Achievements page.
We also will update the protected routes to include a route for the Achievements page, ensuring that clicking on the Achievements menu item correctly redirects the user to the Achievements page. -
49Rewards Menu Quiz
-
50Rewards Menu Assignment
-
51Event And "checkAchievement" FunctionIn this lesson, we've explored various methods to integrate achievements into applications, highlighting polling, long polling, direct integration, and Event-Driven Architecture (EDA).
We've also introduced the concept of using a custom event emitter function alongside the EventTarget interface for managing achievements in a mock environment, preparing for seamless transition to real-time updates through web sockets once backend support is available. -
52Event And checkAchievement Function
-
53Event and checkAchievement Assignment
-
54Tests FixThe lesson covers the importance of writing tests in programming. The lesson also explains how to run tests in the BulletProof React project and introduces Jest and Craco as tools for testing. Additionallly, we fix all failing tests in the project.
-
55Tests Fix Quiz
-
56Tests Fix Assignment
-
57"eventEmitter" Function TestIn this lesson, we'll write basic tests for the eventEmitter function in our Achievements feature. We'll start by writing unit tests to validate individual functions and then move on to integration tests to ensure that different parts of our code work together correctly. Let's dive in and write our first unit test for the isCustomEvent function.
-
58"eventEmitter" Function Quiz
-
59"eventEmitter" Function Assignment
-
60"checkAchievement" FunctionIn this lesson, we'll update our backend logic to handle Achievements when a user creates a Task. We'll create a checkAchievement function to process Achievements based on predefined rules and a getOrCreateAchievement function to manage the creation or retrieval of Achievement records.
-
61"checkAchievement" Function Quiz
-
62"checkAchievement" Function Assignment
-
63User Achievements PageWe continue developing the gamification features. You will display a list of unlocked and in-progress user achievements.
You'll set up a mock API handler for fetching achievements, create a new React-Query query to fetch achievements data, and display the data in a table on the Achievements page. -
64User's Achievements Page Quiz
-
65User's Achievements Page Assignment
Lesson Workflow
- Read Lesson: Before starting any work, thoroughly read through the lesson material to understand the concepts and requirements.
- Branch Creation: Create a new branch for each lesson to isolate your work and make it easier to track changes.
- Follow Instructions: Follow the instructions provided in the lesson to implement the required features. Pay close attention to details and requirements.
- Testing: Test every step of your implementation. Check the application after each change to ensure everything is working as expected.
- Completion and Commit: Once you have completed all instructions and fulfilled all requirements, create a commit with your changes. Push the commit to your GitHub repository and create a Pull Request (PR).
- PR Submission: Submit the PR as a homework task. This will allow your work to be reviewed by others and provide an opportunity for feedback.
- Feedback and Updates: Once you receive feedback on your PR, review the comments and make any necessary updates to your code. Update the PR with the changes or merge it into the main branch if no further changes are needed.
- Deployment: After your PR has been merged to the main branch, wait for the deployment to happen. Ensure that everything works as expected in the deployed application.


