Are you dealing with javascript development or continuous integration and stumbled upon the “npm ci” (clean install) command? Wondering what benefits it might bring to your workflow? Is it quicker than “npm install,” or does it complicate development processes?
For those just stepping into the CI/CD landscape, you might have noticed config.yml files in Node.js projects prefer npm ci over npm install. Perhaps you’ve skimmed through some documentation but still find the distinctions a bit murky?
In this post, I’ll demystify these tools in straightforward terms, helping you understand which is better in 2024 and how to avoid common errors.
Which Is Better: npm ci Or npm install?
If you’re a solo developer — either “npm ci” or “npm install” are equally feasible.
However, if you’re part of a team, choosing npm ci can help avoid the all-too-common “it works on my computer!! ” issues.
This command ensures everyone on your team works with the exact same dependencies, making it a cornerstone for consistent builds.
Think of your development environment as you would your first day on a new job. Initially, you install the necessary software tools (Node, VS Code, Docker, DB, etc…) — this is a one-time foundation setup.
Once set up, you dive into coding, or the “build” phase, where you start adding the features. Over time, you tweak your toolset by adding or updating software.
Imagine having to reinstall all your tools every morning before you could start coding—it would be a nightmare! That’s why I recommend separating the installation (npm install) of dependencies from the build process (npm ci).
Think of npm ci as arriving each day to find your desk exactly as you left it, with every tool in its place, ready to go.
What Is The Difference Between npm ci And npm install?
Traditionally, when developers join a project, they start by cloning the repository and running npm install. This command interprets the specifications in package.json file to install dependencies.
However, npm install might not always install the exact versions from package-lock.json file. For instance, a ^5.0.5 dependency ends up being version 5.1.1 if that’s the latest version.
Historically, npm install was the only option available, so many devs still use it.
Let’s break down all the npm i scenarios.
Understanding npm install
At its core, npm install serves a dual purpose.
First, npm install reads your package.json to compile a list of dependencies that your project needs. Then, it refers to package-lock.json file to determine the exact versions of these dependencies to install.
If a dependency is not in the package-lock. json, npm install will automatically add it, ensuring your libraries are up-to-date.
npm i focuses on flexibility and can update your package-lock.json by incorporating minor version updates. This means that over time, running npm install results in newer versions in package-lock.json.
Here’s what happens when you run npm install:
- Without arguments —
npm istall— The most common usage, which installs allpackage.jsondependencies. - With a package name —
npm i packageName - Behavior with versions: —
npm I packageName^1.0.5— Might install newer minor or patch versions of packages.
npm install Registry Workflow
npm install follows a dynamic and iterative approach to update your node_modules directory. Here’s a step-by-step look at what happens under the hood:
- Loading the Existing Tree. npm install loads your current node_modules tree from disk.
- Cloning and Updating. It clones the tree, fetches the package.json files and metadata for each package, and integrates these into the cloned tree.
- Dependency Resolution. NPM then walk through the cloned tree and add any missing dependencies.
- Comparing and Planning. NPM compares the original tree with the cloned one and prepare a list of actions to conver one to the other.
- Executing Changes. NPM executes these actions — installing, updating, removing, and moving packages — starting from the deepest levels of the tree.
Use “npm install” To Update Node Packages Versions
npm install (npm clean-install) is indispensable when updating your dependencies.
Updates and Bug Fixes. npm install adds new packages and updates existing ones, pulling in necessary bug fixes and security updates. Without it, you could miss out on improvements (if you stuck with frozen versions!)
Controlled Flexibility. The idea isn’t to avoid “npm install” but to use it judiciously!! It should be a conscious choice rather than a default action.
If you decide to update dependencies, here’s how to do it effectively:
- Check for Outdated Packages. Run
npm outdatedto see which packages need updates. - Bulk Update. Use
npm updatewithin your project directory to update all packages simultaneously. - Targeted Update. For specific updates, use
npm install [package-name]@[version-number]. For instance,npm install react@17.0.1. - View Available Versions. To check available package versions,
run npm view [package-name] versions.
You can directly manipulate your package.json to specify which versions of dependencies to use. Here’s a quick guide:
- Wildcard (*) Versioning: Initially, setting a dependency version to * fetches the latest version. Once you identify stable versions for your project, you can pin them down.
- Using Tildes (~) and Carets (^): Prefixing a version number with ~ restricts updates to patch releases and ^ allows updates to minor versions. For example,
~1.2.3means updates to any version from 1.2.3 to less than 1.3.0, whereas^1.2.3updates from 1.2.3 to less than 2.0.0.
These symbols allow for automatic but controlled updates. Here’s a transformation example:
Before:
"dependencies": {
  "express": "*",
  "mongodb": "*",
  "react": "*",
  "zustand": "*",
  "nanoid": "*",
  "history": "*"
}
After:
"dependencies": {
  "express": "~3.2.0",
  "mongodb": "~1.2.14",
  "react": "^17.1.4",
  "zustand": "~3.5.2",
  "nanoid": "^3.1.23",
  "history": "^5.0.0"
}
Understanding npm ci As A Clean Install Of Your Dependencies
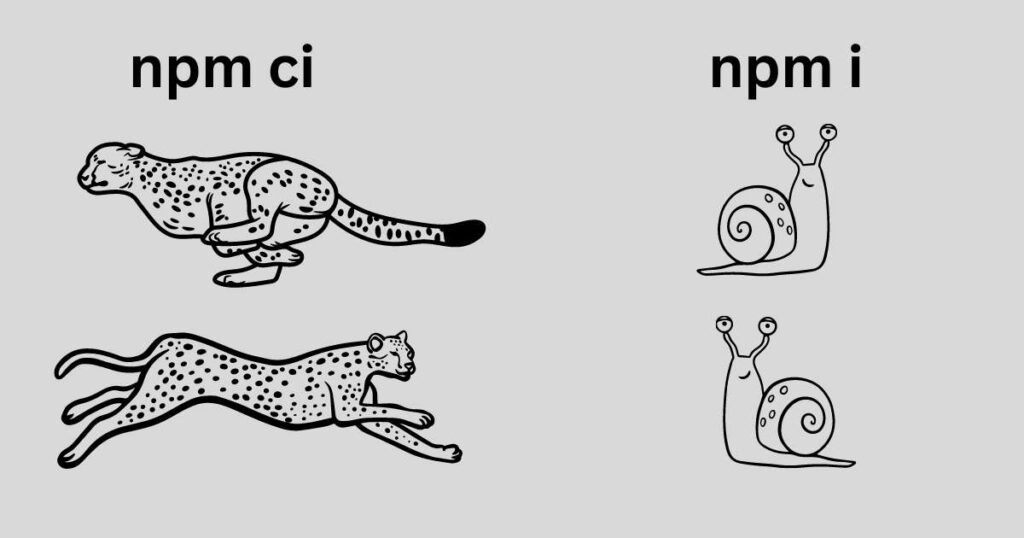
Introduced in NPM 5.7.1v in March 2018, npm ci (stands for a clean install) is faster and more reliable than traditional npm install.
npm ci provides a faster, more predictable way to manage project dependencies. Unlike npm install, which can update your package-lock.json, npm ci strictly installs the exact versions defined in your package-lock.json.
It ensures that your package.json and package-lock.json are in sync. If they aren’t, npm ci will stop and throw an error, avoiding potential problems.
Before installation, npm ci removes the node_modules directory to ensure that there are no residual artifacts from previous installs.
For those using Yarn, a similar command exists — yarn install --frozen-lockfile — which mirrors the behavior of npm ci and uses the lock file as the source of truth for all packages installations.
Benefits Of Using npm ci
npm ci is designed to eliminate the inconsistencies that often arise with “npm install.” This command is a powerhouse in managing NPM libraries. Here’s a closer look at why npm ci should be your go-to:
npm ci Is Faster Than npm install
npm ci accelerates the installation process, bypassing the building of a new dependency tree each time it runs. Basically, it skips the dependency tree generation and instead installs directly from the package-lock.json.
Streamlining Development
The typical cycle of deleting node_modules, performing a fresh npm install, and troubleshooting minor package updates is tedious and error-prone! npm ci simplifies this process — no more wrestling with unexpected errors or version conflicts!!
Consistent Continuous Integration – Reliable Builds
To ensure that developers and CI pipelines are using the same dependency setup, npm ci should be the standard command in your scripts.
It uses the package-lock.json or npm-shrinkwrap.json files as strict references, ensuring that no updates are made. This is particularly important in CI environments where unexpected package changes lead to build failures.
Install devDependencies Only When You Want
If you’re running builds in a production environment, using npm ci --production will not install devDependencies, streamlining deployment and excluding unnecessary packages in production.
Sometimes, you may need to install devDependencies in production mode when the NODE_ENV is set to production.
Use npm ci --include=dev to install both dependencies and devDependencies regardless of the NODE_ENV setting. This is useful when you need a complete setup for development testing.
npm ci Best Practices
In web development, we work with Node.js and manage multiple project branches. npm ci can boost your development process!
For example, when you check out at a new branch — run npm ci. You’ll get exactly what other developers tested and committed.
Here are other tips on how to manage your Node.js packages:
Speed Up npm ci Using Cache
Both npm i and npm ci operate with a cache in play if it exists — the cache normally lives in ~/.npm.
Configuring caching can speed up your npm ci process. For example, changing the npm cache directory to a local project directory can cache this directory between CI jobs, reducing installation times.
Despite recommendations against caching node_modules with npm ci, you can still catch it to enhance performance.
Using Exact Versions vs. Ranges
Specify the exact versions in your package.json to prevent unexpected updates. However, for libraries, ranges allow users to benefit from updates without waiting for an updated library version.
Other Tips
Check Before You Install. Before installation, look at your package-lock.json to see if there are new dependencies. If the packages are the same and you already’ve installed the dependencies — running npm ci might be redundant.
Handling Specific Scenarios. Run npm install ONLY If you’re aware of specific updates to your packages.
Automated Environments. Use tools like Dependabot or Snyk to manage dependencies. These tools automatically adjust your package-lock. json to the latest secure package versions — set them to update major, minor, or only security-related changes.
Cross-Packages Compatibility. For projects with multiple package managers, npx ci automatically detects and executes the appropriate clean installation command based on your project’s package manager (e.g., npm, yarn, pnpm). NPX ensures you follow the correct installation, regardless of the underlying tool.
Mitigating Common Errors With npm ci
Working with NPM can sometimes feel like navigating a minefield. Here’s a practical guide on using npm ci and how to mitigate common errors that might pop up.
1 Versions of NPM And Node
Always check that your Node.js and NPM versions match your project requirements. A wrong node version can cause npm ci to fail the CI environment like Jenkins, Travis, AWS, or any other code pipelines.
Sync your local Node.js version with your pipeline to prevent compatibility issues.
2 Missing package-lock.json
The npm ci command strictly requires a package-lock.json or npm-shrinkwrap.json file. If these files are missing or the lockfile version is outdated, you’ll encounter an error like this:
npm ERR! code EUSAGE
npm ERR! The `npm ci` command can only install with an existing package-lock.json or npm-shrinkwrap.json with lockfileVersion >= 1.
To fix the issue, run npm install with npm version 5+ to generate this file. Check .gitignore to ensure that you commit it to your repository.
Use npm ci—-force when you need to resolve temporary issues. However, I don’t recommend it as a permanent fix because it bypasses important checks.
3 Issues with Legacy Peer Dependencies
If you’ve set legacy-peer-deps=true globally in your npm configuration, it may break your CI server build.
This setting affects how NPM handles dependency conflicts. It may make your package-lock.json not compatible with your environment and lead to this error:
npm ERR! code EUSAGE
npm ERR! `npm ci` can only install packages when your package.json and package-lock.json or npm-shrinkwrap.json are in sync. Please update your lock file with `npm install` before continuing. npm ERR!
To fix this, revert package-lock.json to the main branch(or any other good state) and remove the config: npm config set legacy-peer-deps false. Also, check that the “legacy-peer-deps” flag is “false” in your ~/.npmrc user settings.
Try the npm config get legacy-peer-deps command — it should output false now.
When you change the configuration, reinstall packages with npm ci.
4 Dealing with Lockfile Issues
Sometimes, a reset your environment is the simplest solution:
- Switch to the correct Node
nvm use 16. - Remove node_modules and package-lock.json
rm -rf node_modules package-lock.json - Reinstall dependencies with
npm i. - Try
npm ciagain to see if the issue persists.
If problems continue, I try this cycle several times before digging deeper.
5 Managing optionalDependencies
The issue stems from specifying a non-existent version of packages under the optionalDependencies. For example, the foo package of version 1.2.0 doesn’t exist, while the latest version on npmjs is 1.1.3.
In this case, the npm install will not fail because foo is listed under optionalDependencies, allowing the install to proceed even when this dependency fails.
Conversely, npm ci exits with an error if the dependencies in package-lock.json do not match those in package.json. Instead of updating package-lock.json, it terminates with an error.
To fix this, update the foo library to “1.1.3” and confirm that the version of foo in your package-lock.json matches the version in your package.json.
Or simply run npm ci --no-optional to skip installing optionalDependencies.
Conclusion: The Last Word on Using npm Package Tools
To sum up, npm ci offers a faster and more reliable method for maintaining consistent builds, especially in CI/CD environments.
Reserve npm install for updating and adding new dependencies — your development process will remain efficient and error-free.

